This post will help you install dotnet .NET core on Ubuntu desktop 16.04 and above.
Launch your terminal and run these following commands with sudo.
sudo apt update && dist-upgradeAfter running the above command, type your sudo password, your system may ask for your permission; simply type y and hit enter on your keyboard.
To install dotnet core on Ubuntu Desktop 16.04 and above, you will run the following command.

sudo apt install dotnet-sdk --classicType your sudo password and wait for this to complete the installation.
The above command will always install the latest version of dotnet core on Ubuntu desktop. if you are looking for any specific version of dotnet core for your system. Please visit dotnet core github page or Microsoft official dotnet core page.
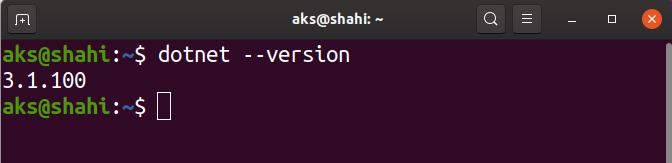
Perfect! lets verify the dotnet core installation with the following command.

dotnet-sdk.dotnet --versionNow, you should see the installed version of dotnet core skd on your Ubuntu desktop.
To allias dotnet-sdk.dotnet to dotnet; run the following command.
sudo snap alias dotnet-sdk.dotnet dotnetNow, you can check if dotnet command is recognised on your terminal.