In this post, I am going to walk you through the installation process of Open JDK 14 and Open JRE 14 on Ubuntu 19.10 desktop version.
Go ahead and launch your Ubuntu terminal and shoot the following the commands.
Update Ubuntu 19.10 First
sudo apt update && upgradeInstall JRE 14 on Uubuntu
sudo apt install openjdk-14-jre-headless -yInstall JDK 14 on Ubuntu
sudo apt install openjdk-14-jdk-headless -yVerify JDK & JRE 14
After installing the Open JDK and JRE 14-ea; here ea means early access. We must verify them by running the following command with terminal
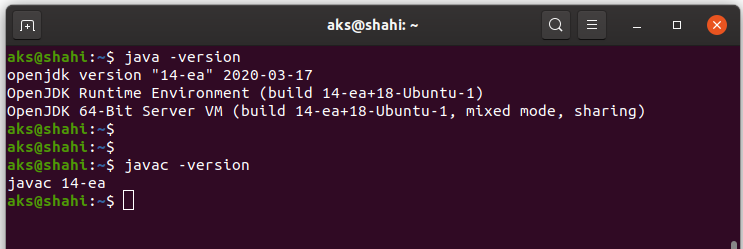
Check JRE
java -versionCheck JDK
javac -versionQuick Code Test w/ JDK & JRE 14 ea
Go and ahead and fire up your favorite text editor. I am going to use Nano. And write a ‘hello world’ program. Compile and run it.
Java Hello World code in Main.java file
public class Main{
        public static void main(String[] args){
                System.out.println("Hello World from Open JDK 14");
        }
}
Compile with JDK 14
javac Main.javaRun with JRE 14
java Main